EMPPLAN Door-2-Door trial access
You have registered for a free 14-day trial version (e.g. here: https://www.empplan.de/empplan-testen/) and have now received an e-mail with your access data.
Great that you are testing EMPPLAN! On this page you will find a compact overview of the most important functions for using EMPPLAN in door-to-door sales so that you can get started quickly – without any prior knowledge.
In just a few steps you can:
- activate your test account,
- create your first project and test all the functions,
- make basic settings.
All other functions and details can be found in our Training Center – where each area is explained in detail.
Let’s go – good luck with testing! And if you have any further questions, we will of course be happy to help you at any time.
Click on the link in the email you received from us (“https://*yourcompany*.empplan.io”) and enter your email address.
Please use the Forgot Password function and enter a new password.
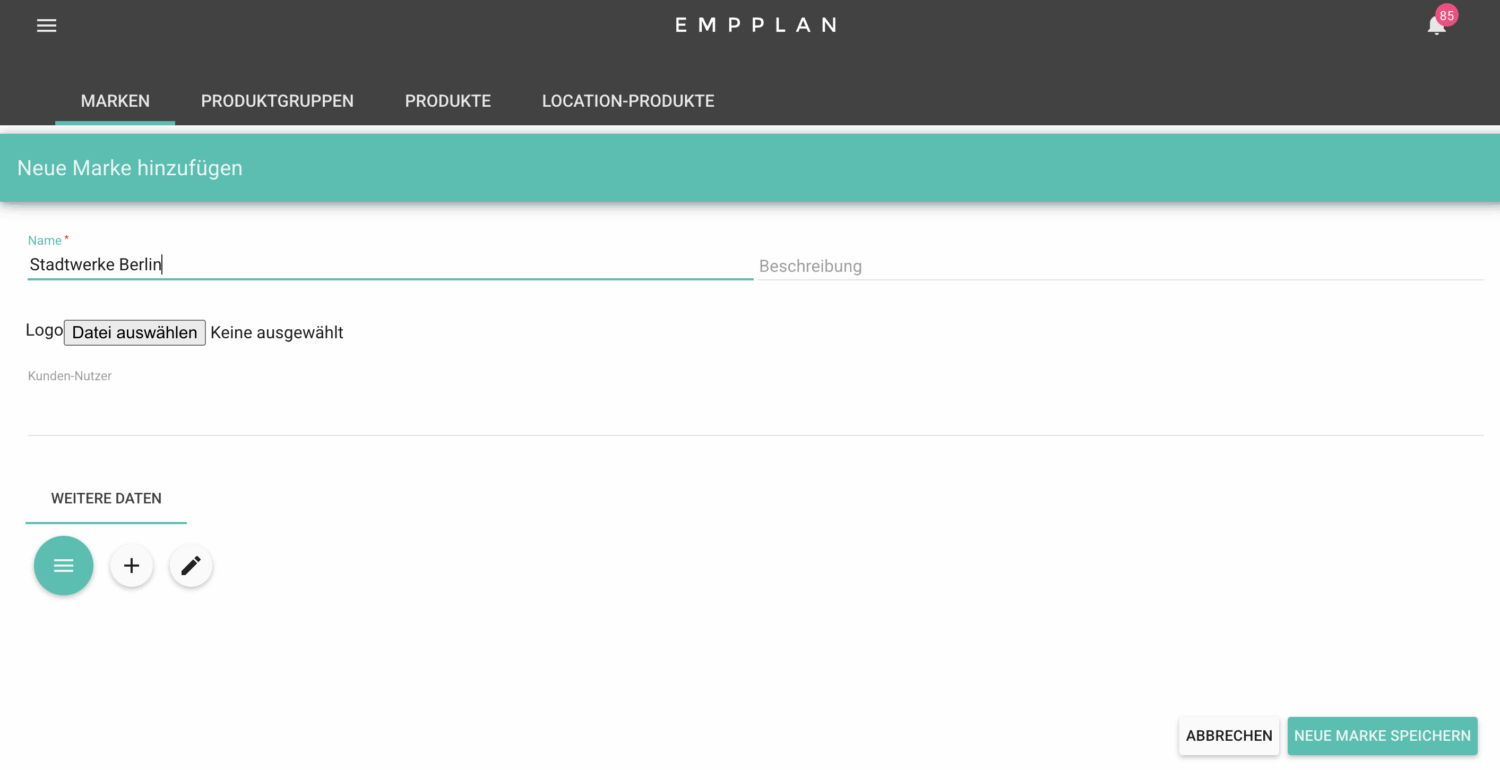
With the round plus button you can add a new brand (name*). Via “Select file” you can add a logo of your customer. Then click on SAVE NEW BRAND
You can add a new product group with the round plus button. Enter the product group name* and click on SAVE NEW PRODUCT GROUP
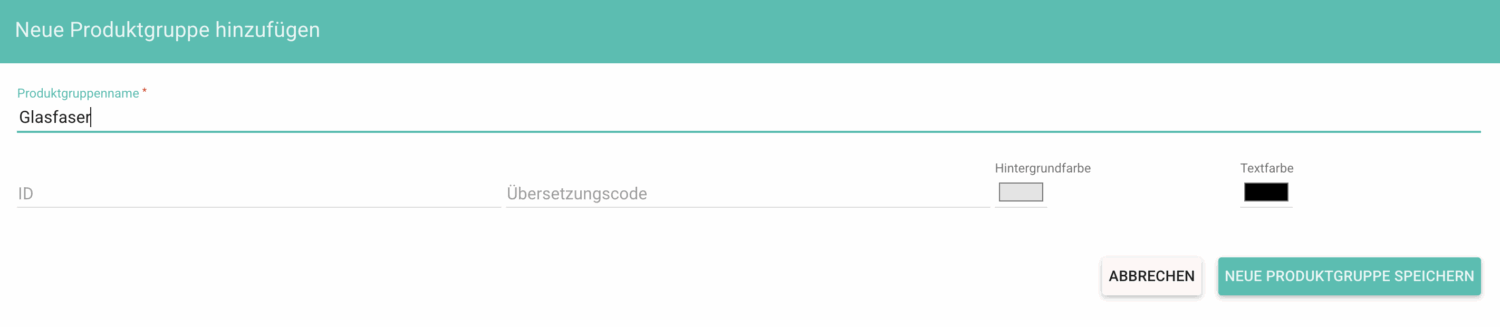
You can find more detailed information on product groups here
You can add a new product with the round plus button.
Enter the following mandatory fields for your product:
- Product type (for D2D:Select products)
- Item number (if not available, enter the product name)
- Product name
- Brand (select created brand)
- Product group (select created product group)
You can find detailed information about product commissions here
- CHANNELS (add new channel)
Details on location management and channels, areas, locations and location groups can be found here
With the round plus button you can add a new channel (e.g. D2D-Stadtwerke). The following data can be defined under Add new channel :
- Enterchannel name
- Selectcountry
- Selectbrand
2. AREA (create area)
With the round plus button you can add a new area (e.g. Munich).E.g. Munich).
- Name (mandatory field)
- Select channel (mandatory field)
3. LOCATIONS (Add new location)
With the round plus button you can add a new location (e.g. address of the public utility company).E.g. address of the public utility company). The following data must at least be definedunder Locations :
- In the first field you can start a Google Places search, which transfers available data from Google directly into the following fields.
- The location name can be customized.
- Assignarea.
- Savelocation.
You can find detailed information on locations here
You can add a new project with the round plus button.
- Addproject name
- Selectstart or end date
After clicking on SAVE PROJECT, further tabs for configuring your project will appear.
You can find more detailed information on projects here
Under PROJECT CLATIONS, select the brand, channel and area that you have already created.
Using the selection field at the top of the table, you can now select individual locations or work with the“Add all locations to the project” button.
When you click on Google Maps, a top view of your locations appears
PROJECT USER
PROJECT USERS and AVAILABLE USERS are displayed here in tabular form. You can find instructions on how to add new users here: 7. Add users.
Under AVAILABLE US ERS you can pre-qualify project users for work in the project using the tick symbol.
The number of selected users is then displayed in the gray area and users can be added manually via the action menu.
The pre-qualified project users are now selected to work in this project. Note: The selected project users are not informed about the assignment to a new project.
Via the action menu in the gray area you can, for example, remove selected users from the project or send the project request.
You can find detailed information on creating payment profiles here
Navigate to Add user in the menu item USERS.
Fill in the mandatory fields:
- Mr./Mrs./Miscellaneous
- First name
- Last name
- E-mail address
- Date of birth
- Location
- User type(agency user)
- User right(Door2Door Promoter)
- check the box next to E-mail for account creation if the user should not be informed about his EMPPLAN access by e-mail
- Assign the user to the desired product groups (e.g. fiber optics)
Click on ADD USER to save your entry.
Under the menu item User administration you can change all the data for the saved user or delete the user.
You can find detailed information on adding users or user management here.
You can find detailed information on reporting in the Training Center under Reporting/Report Management
For door-to-door sales, select the Transactions report type.
- Assign a name for your new report (e.g. Mobile operator1 sales report)
- Customize your report in the SETTINGS tab (activate, hide fields, mandatory field…)
- TIP: By activating the shopping cart function, an event user is allowed to report several products at the same time for a transaction to the same end customer, for example (e.g. electricity and gas tariff). This saves an enormous amount of time, as additional fields such as customer number, address data etc. do not have to be entered multiple times.
- In the FIELDS tab, you could add a field for the customer signature or a picture to the report.
- The PREVIEW allows you to preview your configured report so that you can see how an event user will view the report.
Once you have configured your report, click on save.
The report is now displayed in the table view in the REPORTS tab
In order for the report to be displayed to the promoters in the project, it is important to assign the report to the project. This is done under Linked projects/Select project. Select the project on whose events your report is to be recorded
You can create a new event group by clicking on the white area behind the date or on the green plus button on the left above the calendar.
- Selectdate and time (start and end date if applicable)
- create event series if necessary (select weekdays and times)
- Selectlocation
- Selectevent user (if necessary, remove pre-filter “Residential address 100 km around…” via X) and add user
- selected users are listed under event users (event users can be customized via the three-dot action menu)
- add and publish (promoter is now informed and requested about the new event via e-mail and push notification)
Depending on the user type and user rights, the DASHBOARD menu item takes youto different dashboards for specific requirements. Here you can get a detailed overview

The Activity dashboard is visible to administrators. Itshows you all relevant activities in a timeline so that you can see who has just done what and where
The DASHBOARD tab shows you an overview of successes, for example, as well as successes by area, location, user or product
If you scroll further down here in the DASHBOARD, your events are displayed in tabular form:
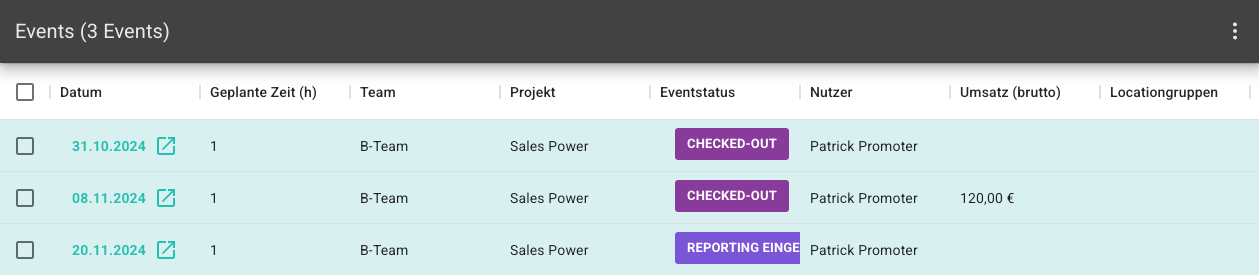
The action menu behind the event date takes you to the admin event view:
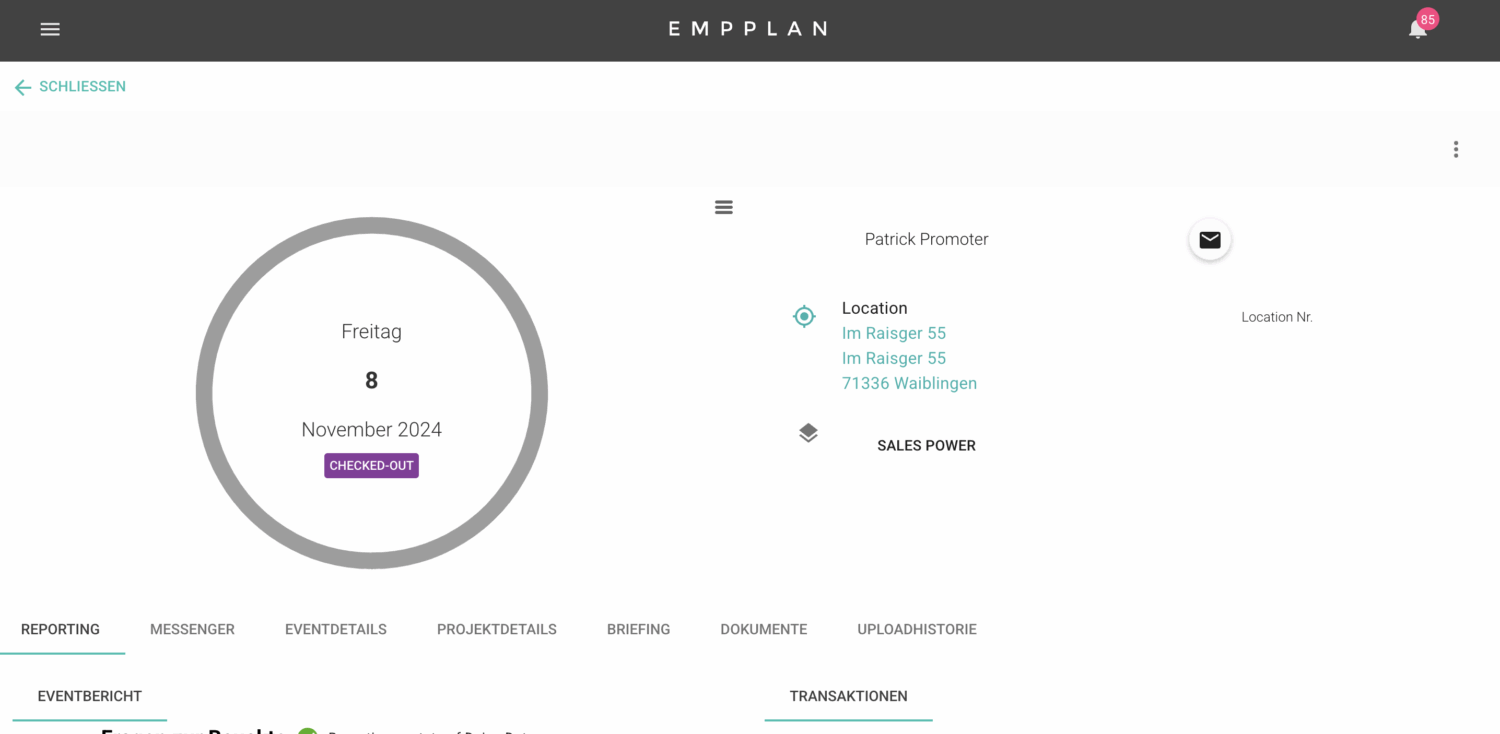
Using the action menu in the light gray area, you would have the option of adding invoice items, e.g. entering additional bonuses (amount) and deductions (amount). These are visible directly under TRANSACTIONS.
With Accept reporting you approve the submitted reporting and the promoter can see any adjustments or that his reporting has been accepted for billing
You can make the app visible to you as an admin in the browser from the event user view (promoter view) by adding /app to your link from the registration (“https://*YOUR COMPANY*.empplan.io”).
We have documented how your D2D promoters can use the test access for you here. Feel free to share the link with your D2D sales representatives who are allowed to test EMPPLAN.