EMPPLAN
for promoters
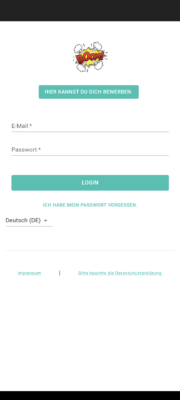
- Request an onboarding email from your agency. In this email you will find a link to set your password. Please note that the link is only valid for a certain period of time. If the link no longer works, follow step 2.
- If your onboarding link has expired, you can have a new one sent to you. To do this, open your browser and visit the EMPPLAN instance of your client/agency, e.g. https://brand.empplan.io. Then click on the link “I have forgotten my password” and enter your e-mail address. You will then receive the onboarding e-mail. If you have not received an e-mail, you can also register again with your client/agency. Then follow step 3.
- If you do not yet have an account with your client/agency, visit their EMPPLAN instance, e.g. https://brand.empplan.io. Then click on the button “You can apply here” and enter all your details. You will then automatically receive your onboarding e-mail to set your password.
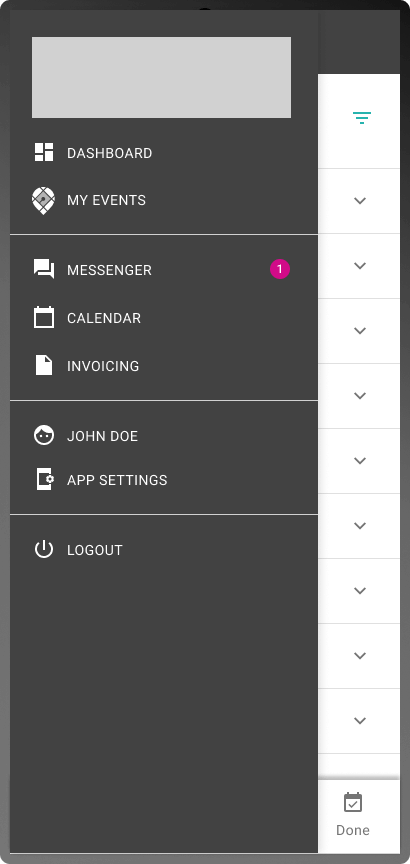
- As soon as you are logged in, you should ideally start updating your profile details straight away. Click on your name in the menu and enter all the information marked as mandatory. Please note that you can only accept jobs with a complete profile. Additional voluntary information usually increases the chance of receiving further job offers.
- If you would like to invoice your jobs directly via EMPPLAN, you should enter all details in the “Payment data & tax” tab. You can then invoice your client for the events (days/jobs) approved by them. You can create the invoice for this in EMPPLAN with just a few clicks in the billing module. Billing via EMPPLAN is completely free of charge for you. As a rule, you will also receive your remuneration more quickly, as your client can arrange payment more quickly.
- If you would like to delete your profile, please contact your client/agency directly. EMPPLAN and your client are committed to handling your data in a legally compliant manner at all times.
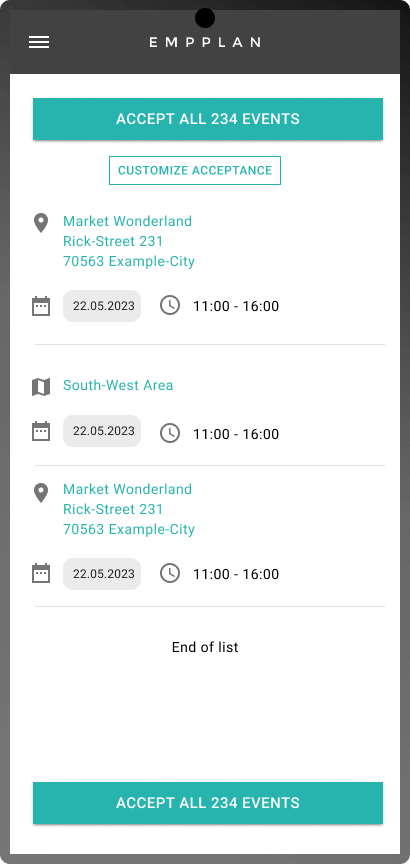
- After logging in, you will be automatically redirected to your personal dashboard. There you can view new events (job requests) and accept or reject them. If you accept an event, the event status changes from Published to Accepted. This means that you are giving your client a binding commitment that you will carry out this event. Depending on the project and event, you may receive a confirmation from your client afterwards. Please clarify this with your client in advance.
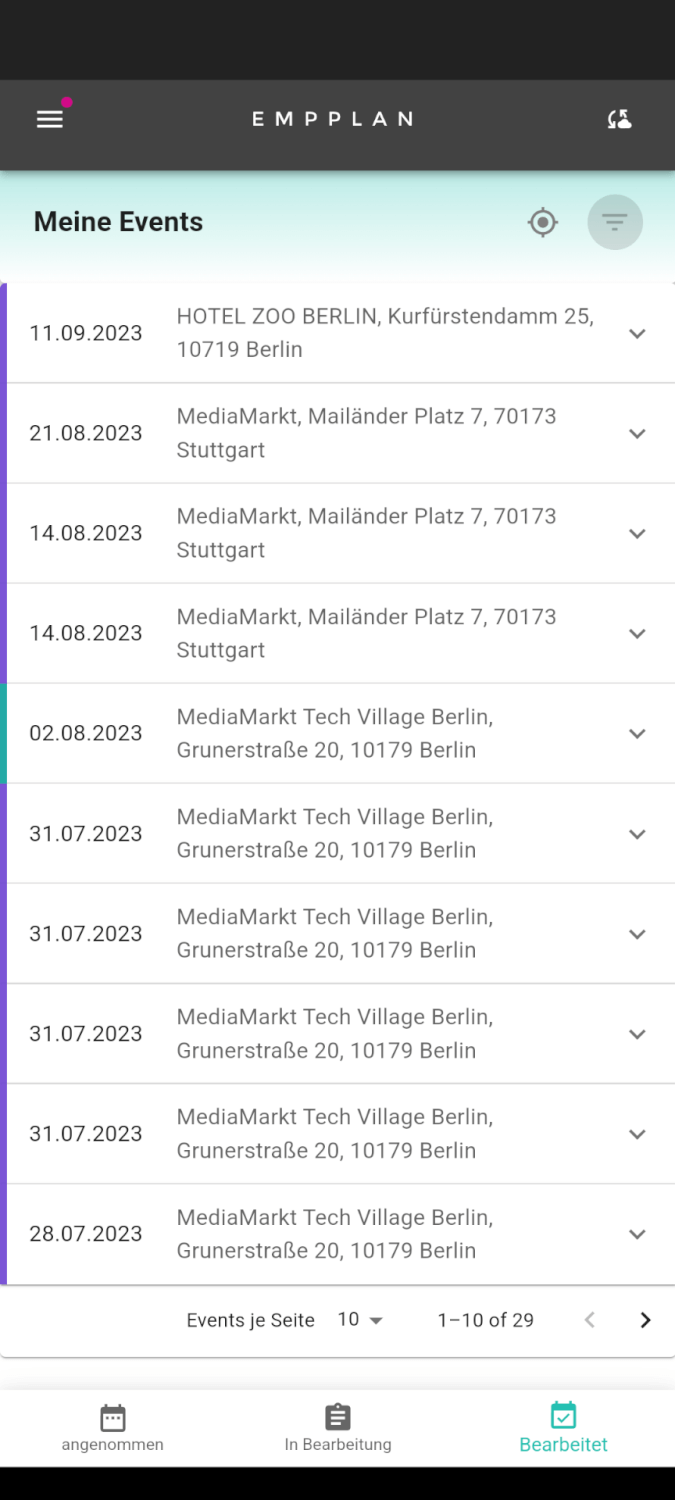
- You can find an overview of your accepted events under the menu item “My events” or in the “Calendar”. See also the Events section in this EMPPLAN Quick Start Guide. Events with the event status Published are still waiting for feedback from you. You can still accept or reject them.
- Accepted events of your client can be viewed in a list view under the menu item “My events”. New events that have not yet been accepted can always be found on the dashboard.
- You can communicate your availability under “Calendar” by clicking on empty days. After the first click, the day turns green, which indicates to your client that you are available for a job on that day. If you click again, the day turns red and is blocked for requests. If you click again, the day is highlighted in white again, which does not allow any conclusions to be drawn about your availability.
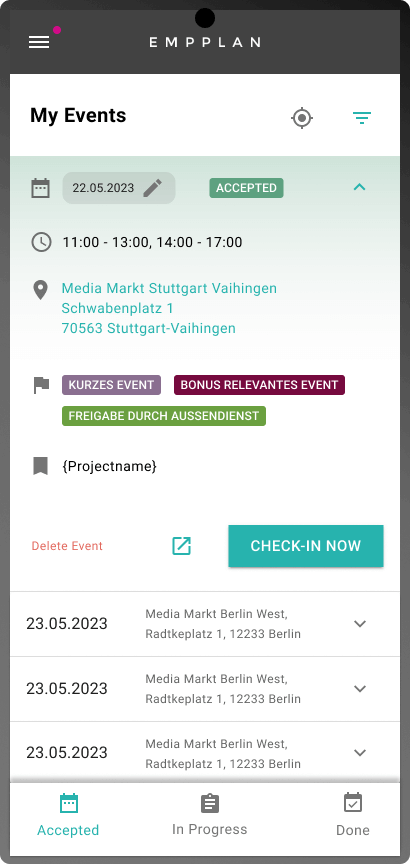
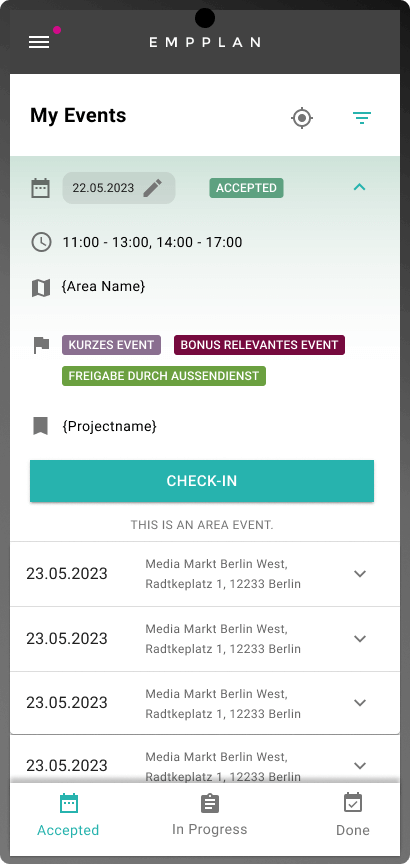
- On the day of your event, you can check in at the beginning and check out at the end. This is how your attendance times are recorded. Depending on the agreement with your client, you can also check in and out several times at the same event. This allows you to record break times, for example.
- Please note that a check-in is a prerequisite for you to be able to record your reporting for your event on the same day or the days after.
- Check-in, check-out & reporting can be carried out directly on your dashboard or on the event detail view (e.g. by clicking on the respective event under Events). Please note that you can only start reporting once you have checked in.
- After clicking on Check-in, you will be asked once for your location approval. You can agree to this by clicking on the “Allow” button.
- Events without check-in can only be manually activated for reporting by your client.
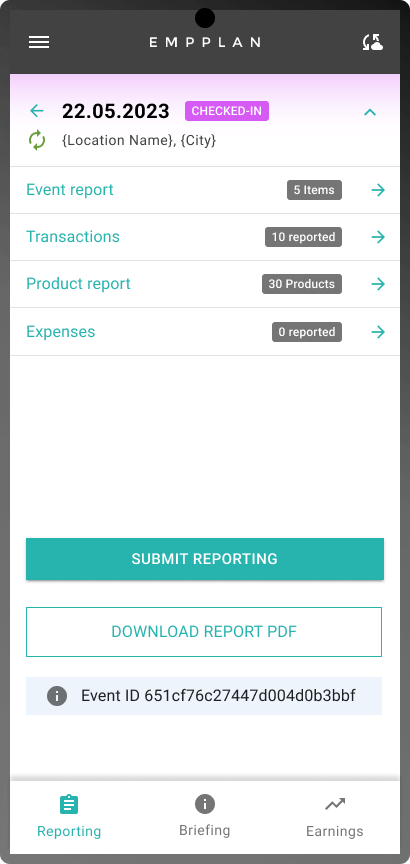
- You can carry out reporting after your check-in in the event detail view.
- Depending on the project, you will find various reports with fields and, for example, functions or upload options, which must be completed once for each event (assignment / day of assignment).
- If necessary, transactions can also be reported. These can be, for example, products sold or promotional products distributed or tasted.
- Depending on the project, you may also be able to report expenses / outlays. Please note that you always report expenses net without VAT. Depending on your personal tax status, you will then also receive the VAT back from your client via the invoice.
- As soon as you have filled in all the necessary data, you can submit your reporting. The button will then automatically turn green and become clickable.
- As soon as you submit the report, you end your event. EMPPLAN will then automatically check you out and the event status will change to Reporting submitted.
- After your client has checked and validated all the information on the event, the event status changes to Reporting accepted. As soon as this status has been reached, you can submit this event for billing. See also: Invoicing.
- The EMPPLAN invoicing module guarantees correct and fast invoicing of your events. To do this, go to the menu item “Invoice items” under “Accounting”. All billable events will appear here with the status Reporting accepted. Please note that events that still need to be checked by your client will not appear here.
- Then select all the desired events and use the “Create invoice” button to generate a draft invoice, which you can convert into a tax-compliant invoice once it has been checked and approved. This is then automatically sent to your client.
- Generated draft invoices and invoices can be called up at any time in the invoicing tab.
Protect your data and comply with local laws
Especially if you are not working with your own device, you must log out before another user can use the device. Only when the logged-in user logs out will the local data storage be properly emptied to prevent unauthorized data leakage. EMPPLAN also recommends this procedure for your own devices.
Your contractual partner wants up-to-date data
Perform the synchronization as often as possible, but at least at the beginning and end of the working day, ideally before check-in and after sending the report for each event.
Be careful with optimization apps and when deleting local storage data from your browser
If you delete local data by resetting your browser or deleting local and cached data, you always do so at your own risk. Lost data cannot be restored if it has not been synchronized beforehand.
Contact EMPPLAN Support if you have any problems
Please first contact EMPPLAN Support at support app@empplan.com if you have problems with synchronization. If a problem occurs during synchronization, please send us the complete log protocol. Only then can we help you.
Frequently asked questions about the EMPPLAN app
Your event report requires location live images / image uploads with localization data and you have problems with this? Read here how you can proceed